I apologize for being missing in action for a bit, I just got my cat spayed and I feel like such a bad furbaby mommy! I know it’s the best for them, but it’s just hard to see my little stinky in a cone collar and all cut into having had surgery 😦 I am trying to make sure she just relaxes and rests so she can not rip open her incision and heal. I let her sleep where she wants, and I have been giving her special treats to eat, and I still feel bad! LOL.
I decided it was high time for a tutorial! I figured out a great way to do my nails in the gorgeous 1940s half moon style that so many of us love. Since this look does not look so swell on short nails, I haven’t been able to pull it off on my natural nails that just decide to say a big screw you and break off before they get any longer than about 2-3 millimeters. So I figured out a way to get the look without the natural length, and to have it look professionally done (without the price!).
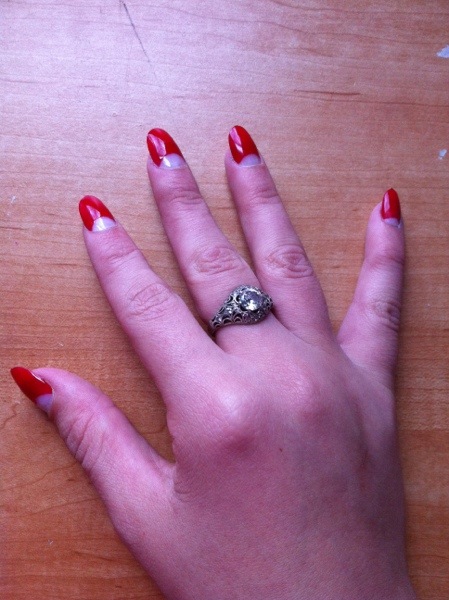
Lets see what we are dealing with here:
Looks great, huh?!
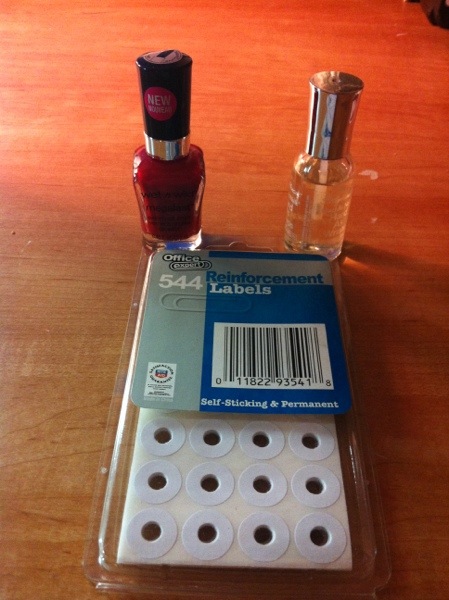
Here is what you need to get started:
-Undecorated full cover glue on nail kit (There is a Kiss brand available at most drug stores like CVS that offers a good rounded vintage-like shape, see below)
-Red nail polish (or colour of your choice)
-Top coat polish
-Hole punch reinforcer stickers (see below)
-Nail file
-Nail glue
1. Open your nail kit and measure each nail size to yours for an adequate fit. Place them to the side.
2. Take out your reinforcers and attach them to the bottom of each nail, taking in account for each nail’s size and what size of half moon looks proper. Each nail should look like this:
3. Take your red nail polish and start painting each nail, just going slightly below the sticker line but never touching further below. When you paint, start with a soaked brush from the middle and then work out to each side – this helps the polish to look even.
Your nail(s) should look like this:
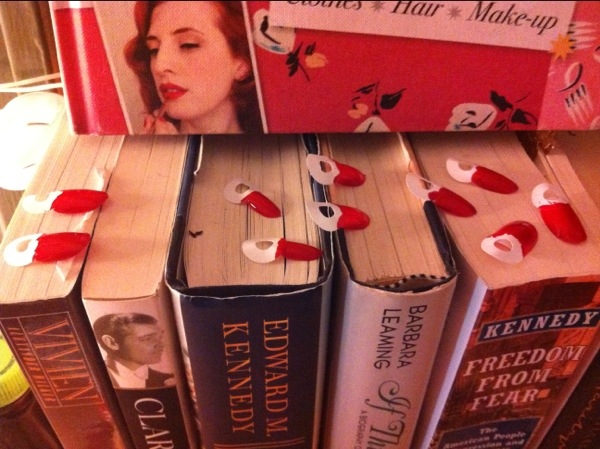
4. After you have completed this step on each nail, put them off to the side in a place that they will not be disturbed and let them cool for at least an hour or two. The drier, the better. I waited six hours with mine. The beauty is they are not on your nails yet so you don’t have to be terrified of fudging them up!
I put mine on top of some books I had on my desk so my cat wouldn’t get them:
After waiting a proper time…
5. Make sure your nails are DRY. You are going to be taking the stickers off now, and any residual tackiness will mess up the half moon you are looking to achieve.
When you are taking the stickers off, be sure to pull them off from the bottom of the nail up to the top, NOT from side to side. This allows for a cleaner line.
6. Take another bunch of reinforcement stickers and put them on the back of the nail just like they were on the front, like this:
7. Hold your nails by the sticker as I have done in the last pic. Take your top coat now and start putting it on top of each nail just like when you put the polish on. After you are done, return them to their drying place for another couple of hours.
8. Check to make sure the nails are completely dry after a few hours. If they are, take the reinforcement stickers off of them. Get your nail glue and begin to glue them on, applying the glue to the back of the nail and sliding it down to the base so it gets adequately bonded and covered to your nail.
After you have finished that, then you are really finished! They look pretty good huh? I intend to do this on most of my manicures now, and my nail kit comes with 10 sets of nails, so I have 9 more to work on 😉
I hope this works as well for you as it did for me!


This is perfect! My nails never grow long enough for me to do this on my natural nails but this looks very fancy and gorgeous. And it’ll last! Don’t know why I never thought of this.
I’m glad you like it! I figured a lot of other ladies are in my same predicament, so I’d share my little tidbits to help 🙂 Enjoy!
Pretty! This was a really wonderful article. Thanks for supplying this info.